Character: faces, recognition & publishing
How the character is drawn, whether it recognises the person in front of it, and how you put it in front of people.
LiveFace 2D — a talking head from one photo
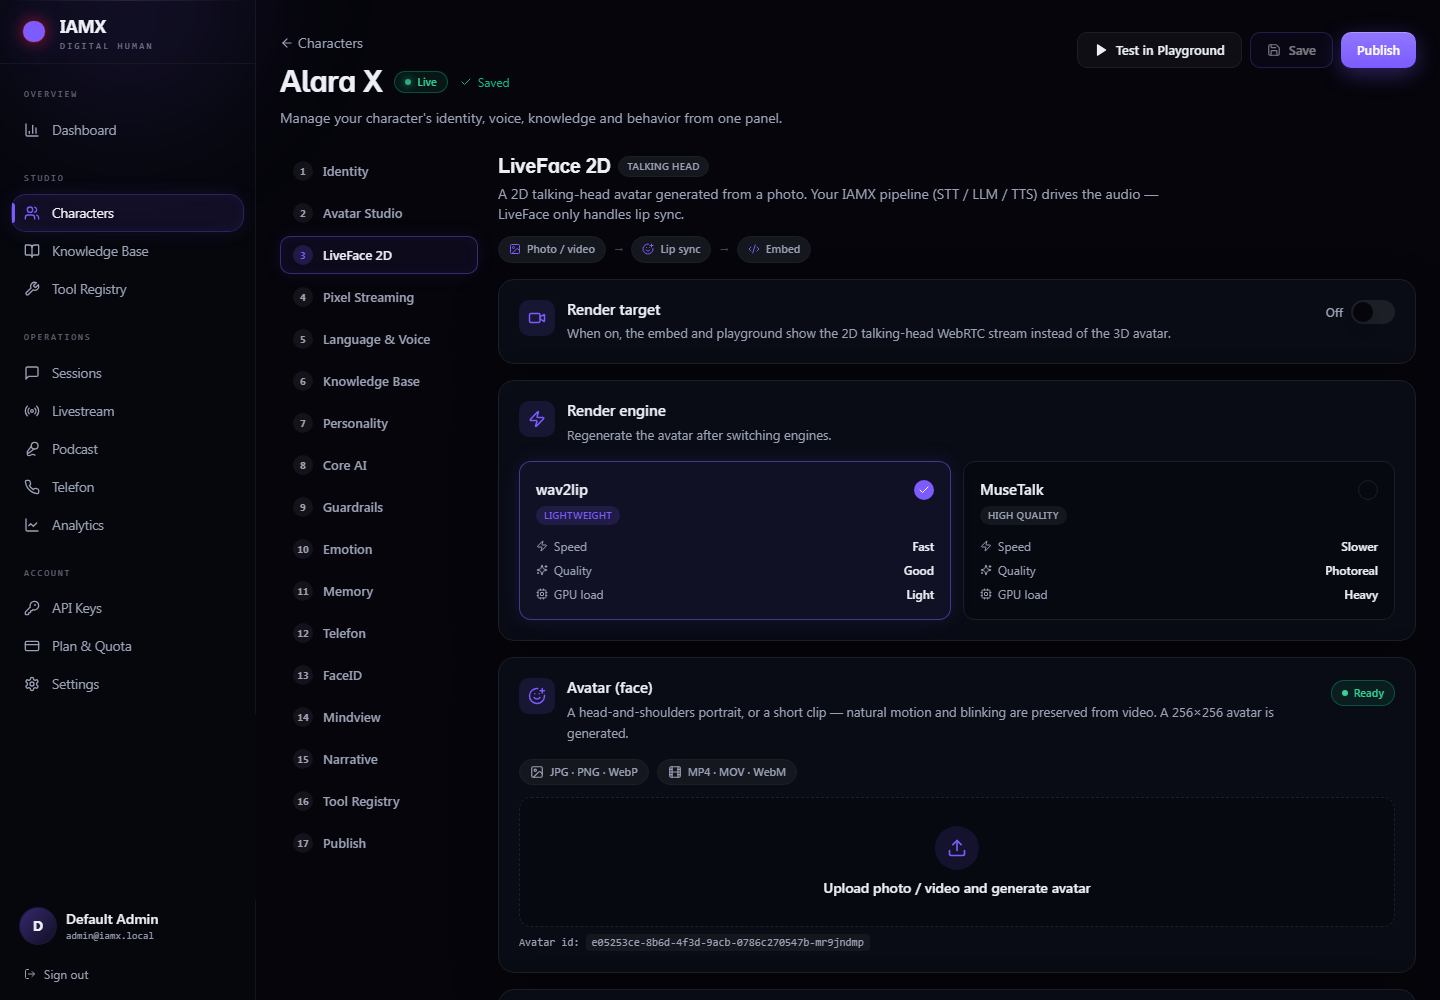
LiveFace renders the character as a real photograph whose mouth moves with the speech, instead of a 3D model. It is the fastest way to a convincing face: one good headshot and you have a talking presenter.
| Engine | Trade-off |
|---|---|
| Lightweight | Fast, light on the GPU, good quality. The right default. |
| MuseTalk | Noticeably more photoreal, slower, heavier. Worth it for a presenter that will be on screen a lot. |
- Choose the engine first. The avatar is prepared specifically for the engine you pick.
- Upload a photo or a short clip — a well-lit head-and-shoulders shot facing the camera works best. Generation takes roughly half a minute; the first one takes longer.
- Switch the render target on.
- Press Live preview to check the mouth actually moves.
- Copy the embed code and paste it into your site, replacing the placeholder with an API key.
Pixel Streaming — a cloud MetaHuman
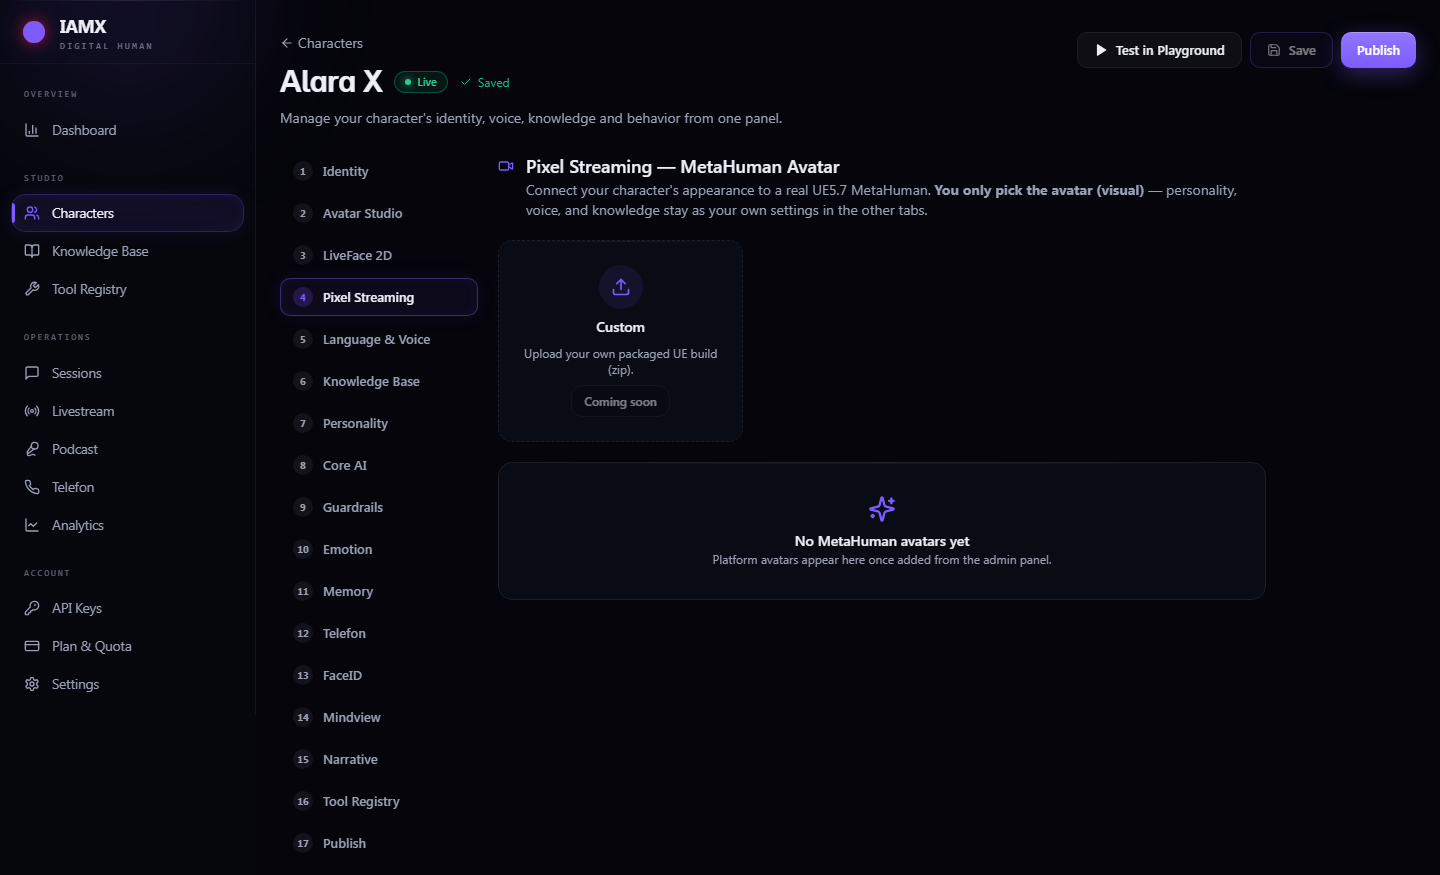
This gives the character the body and face of a full Unreal MetaHuman, rendered on a GPU server and streamed to the browser as video. Your visitors need nothing but a web page. You are only choosing the look — the voice, the brain, the knowledge and the rules all stay exactly as you configured them on the other tabs.
Click an avatar to assign it, and Disable to go back to the browser-rendered look. The first visitor after a quiet period may wait a little while a GPU server wakes up.
FaceID — recognising the person
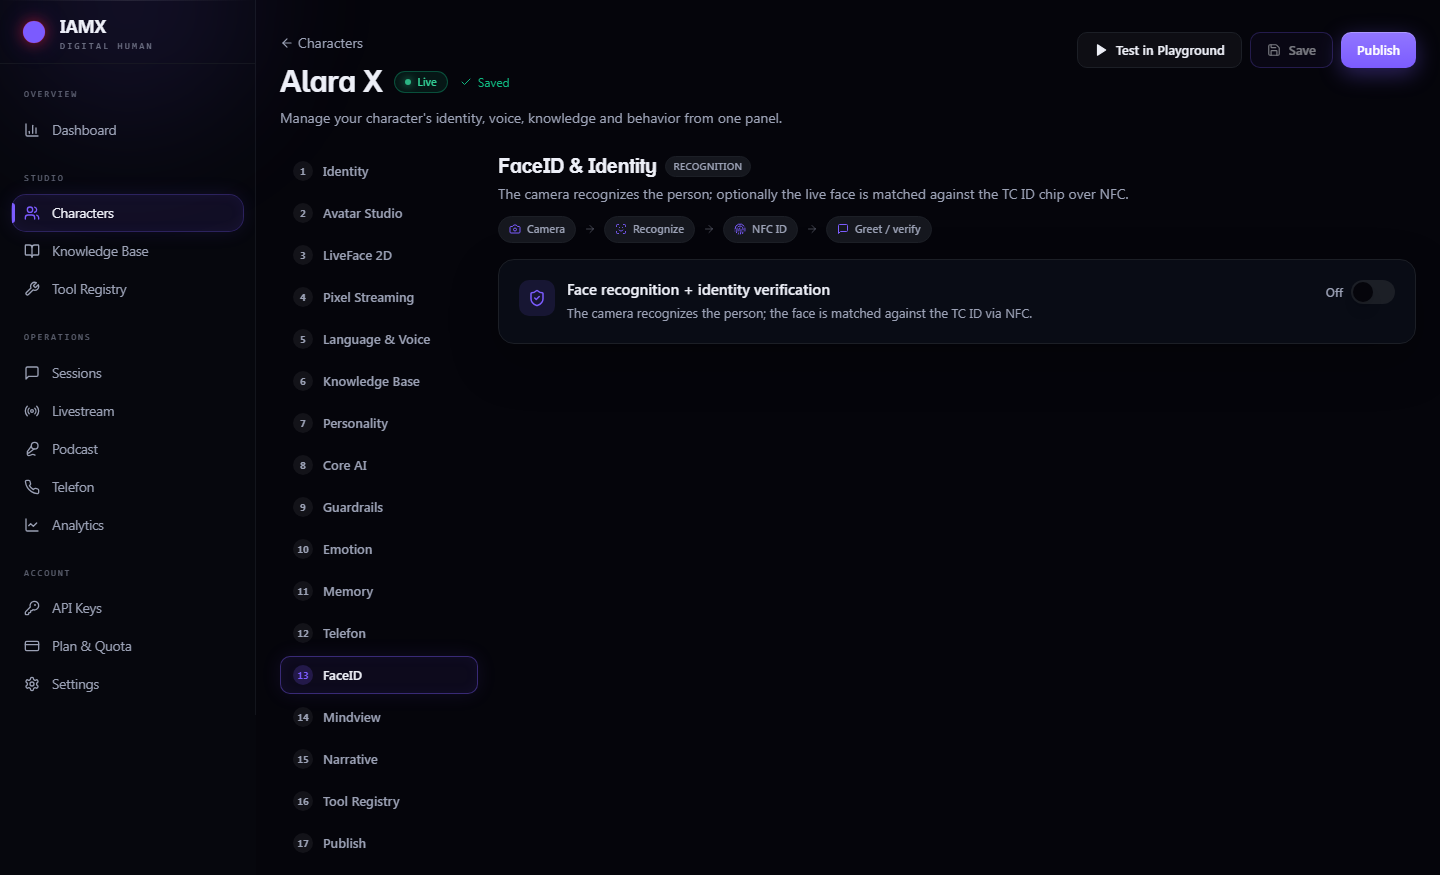
With a camera attached, the character can tell whether the person in front of it is someone it has met before, and greet them accordingly. Where identity really matters — banking, for example — it can also check a face against the chip in a national ID card, read by a phone.
Behaviour switches
| Switch | Set it for |
|---|---|
| Greet by name | Leave on for anywhere hospitable. |
| Register by name (ID not required) | On for a café or a shop — an unrecognised visitor is simply asked their name and remembered. Off where identity must be proven. |
| Face match required | On for banking: if the ID card checks out but the face does not match, the person is refused. |
| Send kiosk camera to the cloud | Only when the recognition service has no camera of its own. |
The greeting scripts
Seven fields, each spoken exactly as written, with {name} replaced by the visitor's name. Leave one blank and that situation stays silent.
| Situation | Example line |
|---|---|
| Recognised face | "Welcome back, {name}. Good to see you again." |
| Unrecognised face | "Hello there. I don't think we've met — what's your name?" |
| ID needed | "Could you hold your ID card to the reader for me?" |
| Verified returning visitor | "You're already verified, {name}. How can I help?" |
| Identity verified | "Thank you, {name}. You're verified." |
| Face didn't match | "I'm sorry, the photo on the card doesn't match. Please see a colleague at the desk." |
| No live face | "I can't see you clearly — could you step in front of the camera?" |
Phone — give it a phone number
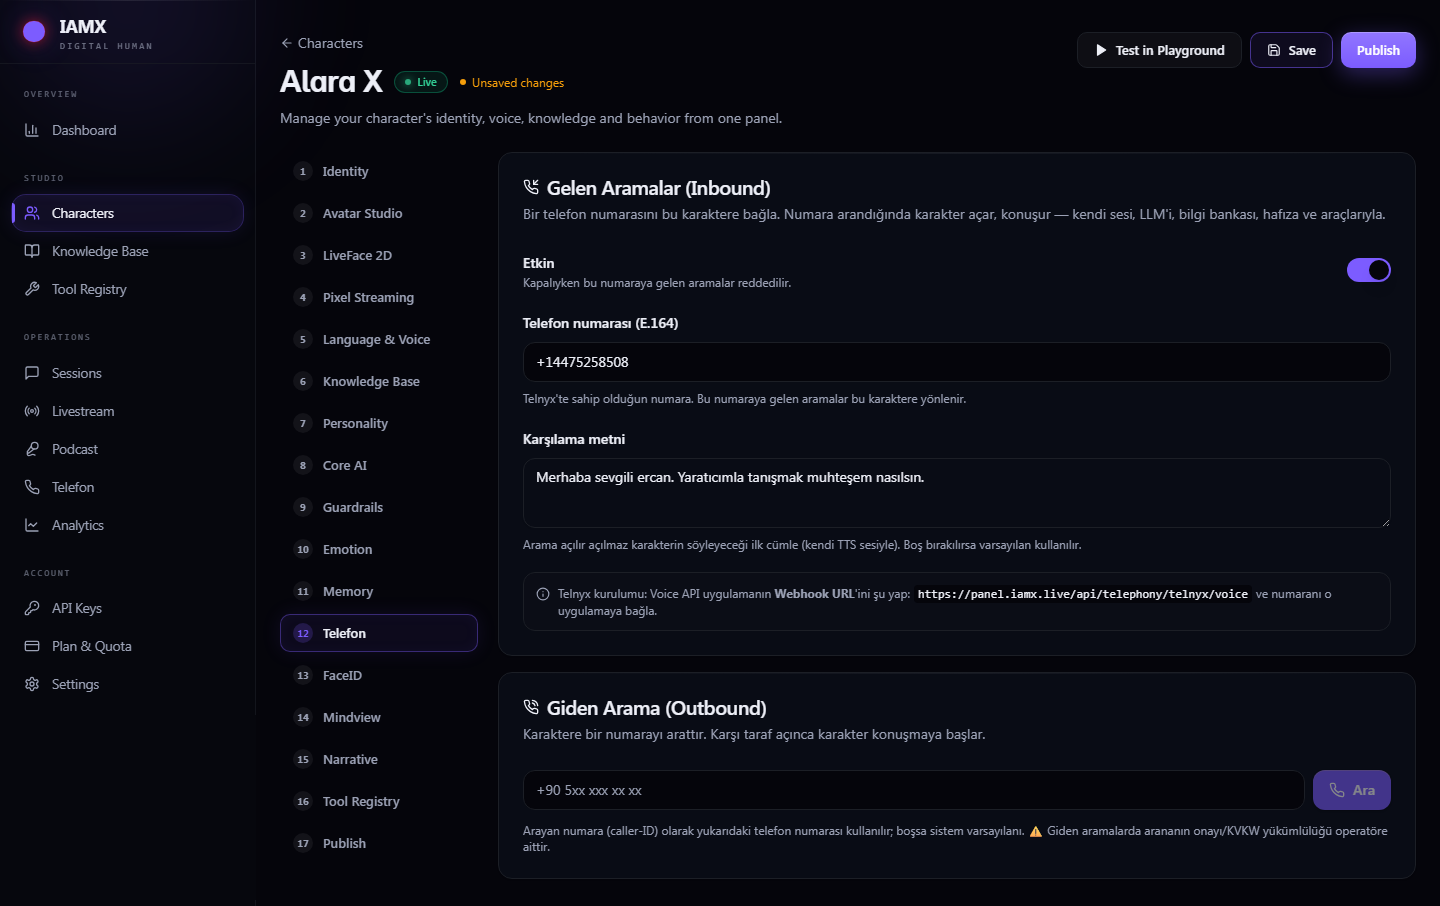
Attach a real phone number and the character answers calls in its own voice, with all of its knowledge, memory and tools intact. Full setup is on the Phone calls page; this tab is where each character's own number and greeting live.
Publish — putting it in front of people
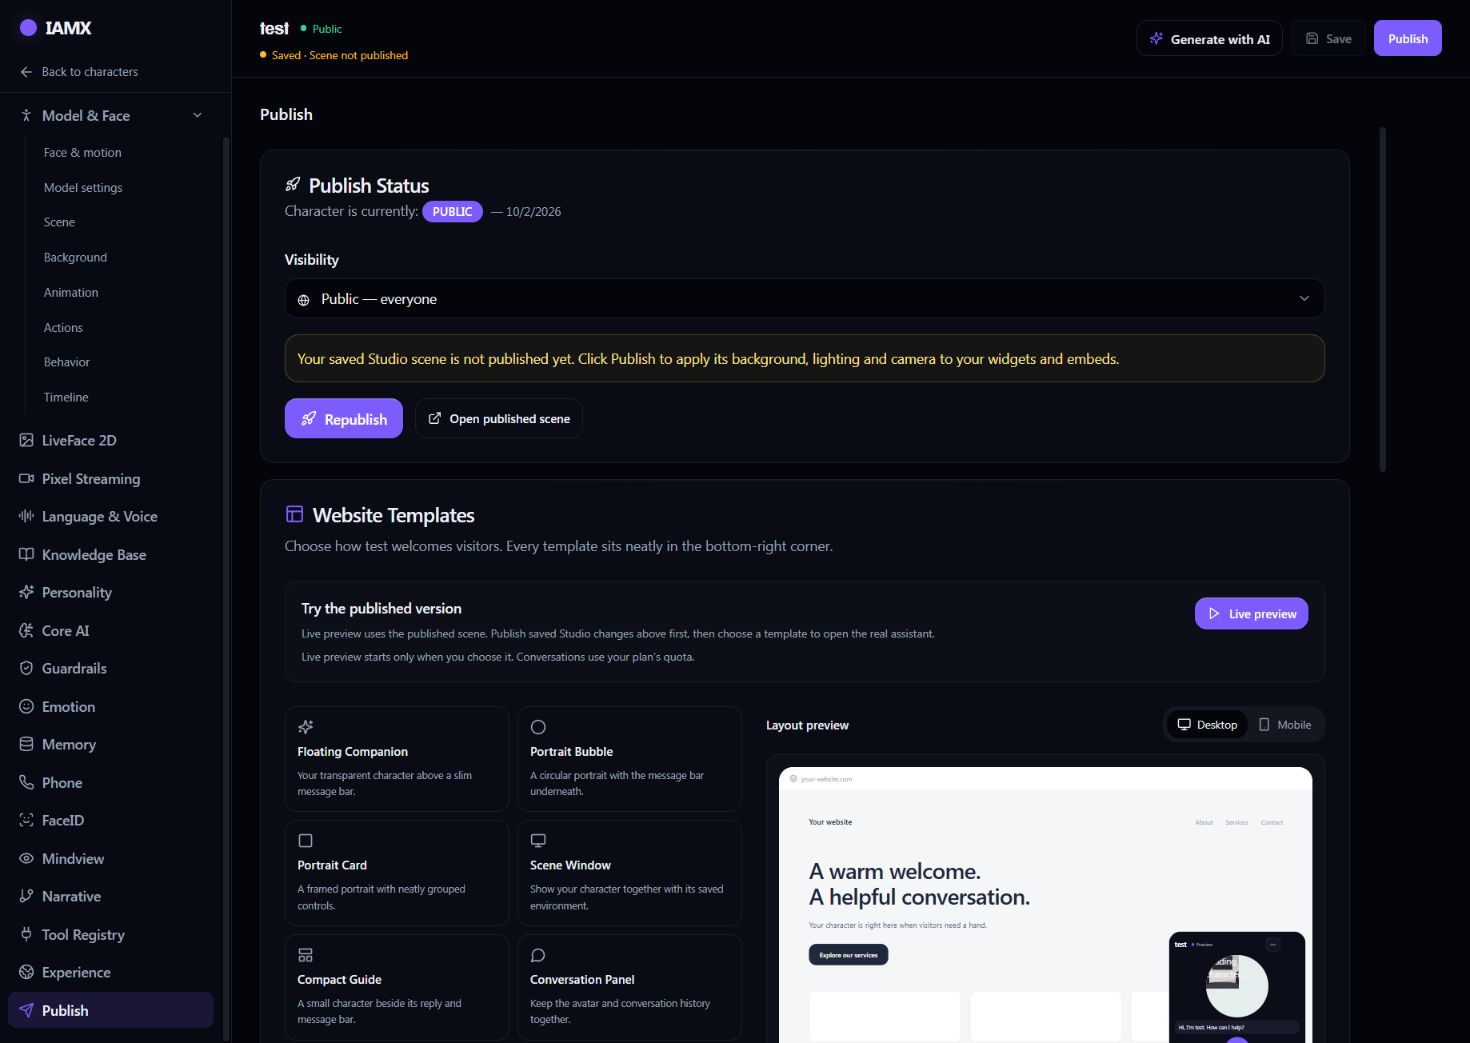
| Visibility | Who can talk to it |
|---|---|
| Private | Authenticated access is required. Use your signed-in editor to preview it while building; a public visitor cannot simply open a private embed. |
| Unlisted | Anyone with the link. The usual choice for a website embed. |
| Public | Everyone. |
- Save your work. Finish the avatar, voice and scene changes. The Publish action also attempts to save pending character edits and stops if they cannot be saved.
- Choose Publish or Republish. This includes the saved Studio background, lighting, camera and character placement. “Scene not published” means the saved scene is still waiting to be applied to public embeds.
- Open published scene. Check the full scene, voice and animations in a new visitor session.
- Choose a website template. Preview its size and opening state, then copy the generated widget code. Follow Website embed for installation.
The transparent Floating Companion widget hides scenery intentionally. To show the background, choose a scene or portrait presentation and confirm that the Studio scene is published. The Studio guide explains the save and test workflow.
For page awareness, spoken website help and navigation actions, also use Save experience → Publish experience in Experience. Publishing the character does not replace those controls.
The tab also provides connection details for each channel:
- Character ID — the single value the Unreal plugin and the SDK need.
- Unreal Engine (Cloud Mode) — the settings block to paste into the IAMX component, including where your API key goes.
- Website widget — the generated script for a floating website companion in your chosen template.
- HTML Embed — an iframe for your website. Drop it into any page.
- WebSocket — the starting point for your own app.