Your first talking character
Create a character, test it in the browser and publish it on a website. No Unreal project is needed for this workflow.
Before you start
Sign in to Characters. You need an available character slot, conversation quota and access to the voice and AI provider you select. A microphone is optional: start by sending a typed message.
1. Give the character a role
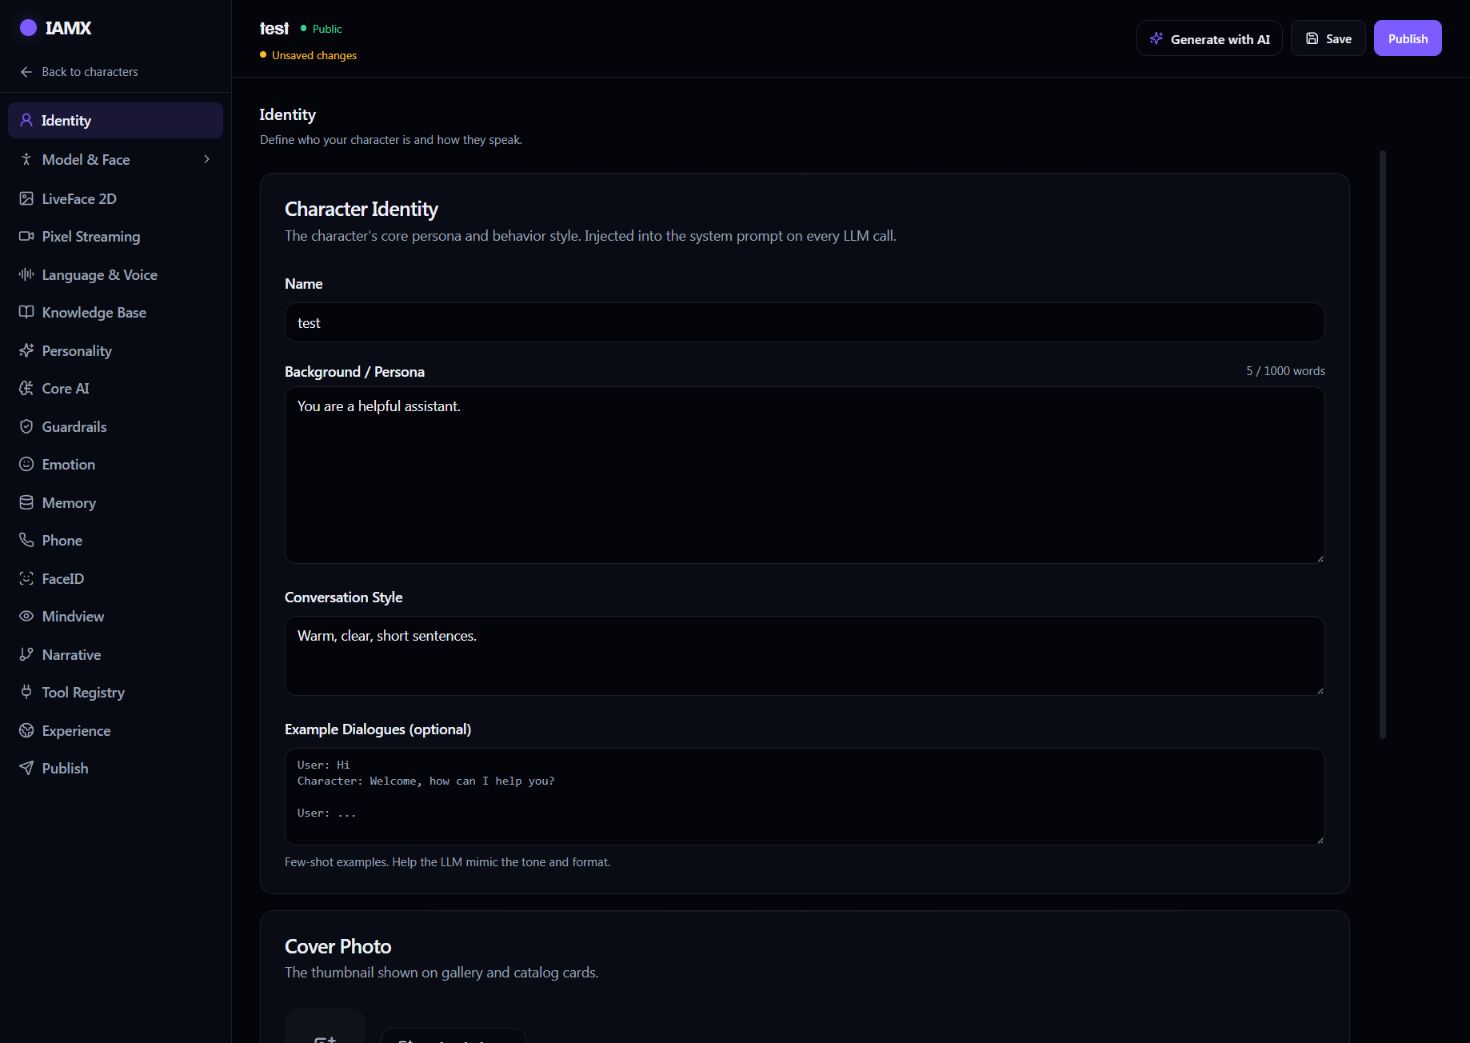
Choose New character, enter a name and describe whom it helps. In Identity, write a short Background / Persona and Conversation Style. You can also use Generate with AI, then review the result.
You are a visitor guide for our website. Answer in the visitor’s language.
Use our published resources for product information.
If the answer is missing, say so and offer the support page.
Keep answers short unless the visitor asks for more detail.
2. Choose its appearance
Open Model & Face. Current shows the saved avatar. Create opens the modular creator and its star-shaped Presets category. Ready-made selects an existing catalogue model; Upload accepts your own supported model. Select Use avatar or Save changes to apply your choice.
Use Scene & animation for background, lighting, camera and motion. Follow the illustrated Studio guide for each control.
3. Set up the conversation
In Core AI, select an available model. In Language & Voice, choose the voice provider and a voice, then preview it. For ElevenLabs, the account key is managed in Settings. Realtime voice modes have their own voice choices. See voice setup.
Save your changes. Add a small, relevant document in Knowledge Base if the character should answer from your own material; wait until processing is ready.
4. Test before sharing
Open Model & Face → Test. This opens the conversation view for the current character; pending avatar edits may be saved first. Send a short question, listen to the reply, then test the microphone. Confirm the avatar, camera and voice are the ones you intended.
5. Publish and embed
Use the character’s Publish button to publish its scene, then open the Publish section to choose a website template and copy its code. Check the resulting embed as a visitor. Saving a draft alone does not publish the scene. Follow the website installation guide.
Continue with your use case
- Website guide: page awareness, spoken greetings and navigation.
- Academy: teachers, students, lessons and resources.
- Unreal: install the plugin matching your engine build, then follow component setup and Start Conversation.
Updated . Screenshots show example configurations; your available options depend on the character and account.