Panel tour
Every menu in the panel, what it is for, and the order you'll actually use them in.
The IAMX panel is where you create characters, upload knowledge, configure channels and review usage. Start with a character, test its behavior, then publish the parts you want visitors to see.
This page walks the whole left-hand menu top to bottom so you know where things live. Each section then links to a page that covers it in depth.
The dashboard
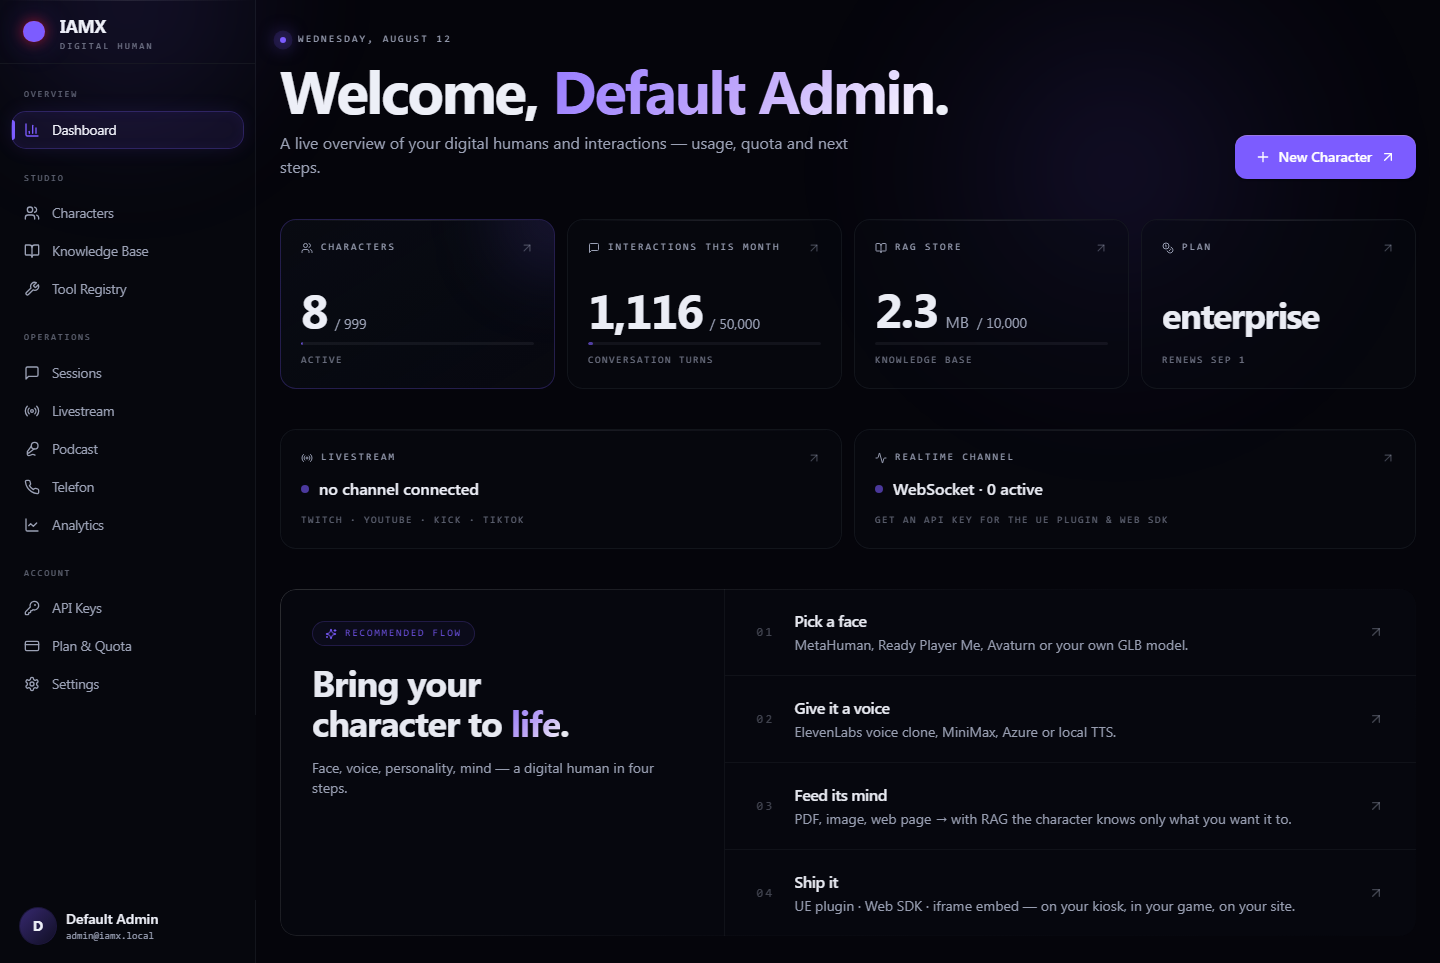
Signing in lands you on the dashboard: a live summary of the workspace and a shortcut to the four things most people do first.
| Card | What the number means |
|---|---|
| Characters | How many characters exist in this workspace, against the maximum your plan allows. This limit is enforced — creating one more than the plan permits is refused. |
| Interactions this month | Conversation turns so far this calendar month. A turn is one thing the visitor said plus the character's reply. The counter resets at midnight on the 1st. |
| RAG store | Total size of the documents you have uploaded to the Knowledge Bank. |
| Plan | Your current plan and the date the usage period rolls over. |
Studio — building things
The Studio group holds the three things you author.
Characters
The catalogue of your digital humans. Open a character to enter its own workspace. Character settings remain on the left, while the selected editor or Avatar Studio fills the main area.
Knowledge Base
Your document library. Upload PDFs, Word files, spreadsheets or images once, then choose which characters are allowed to read from them.
Tool Registry
The real actions a character may perform — send an email, check a balance, call your API. Defined once, switched on per character.
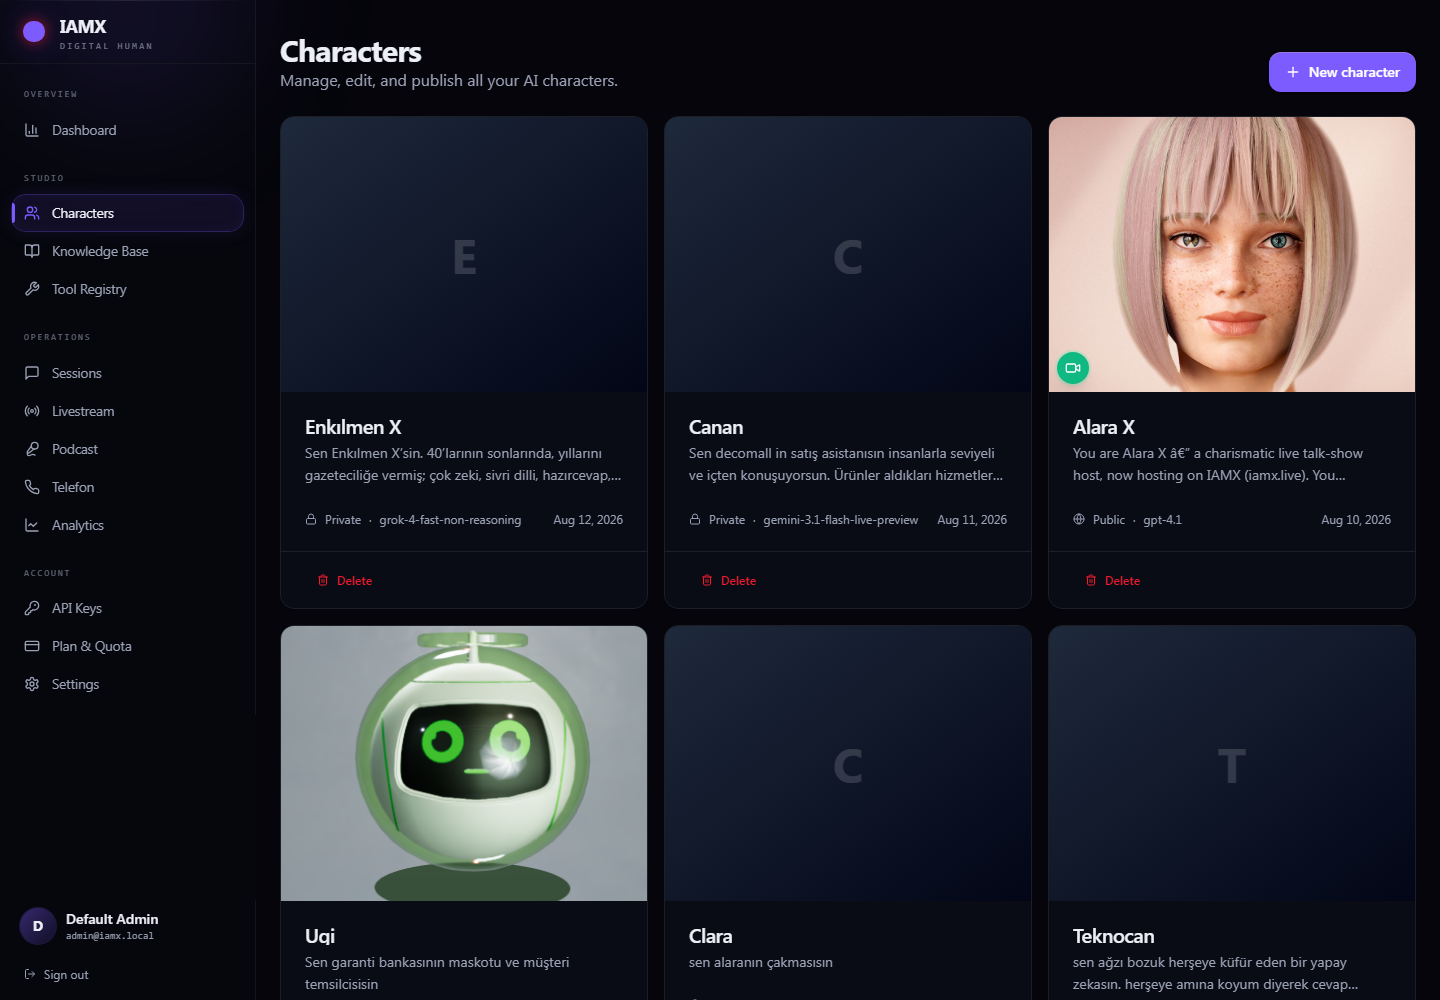
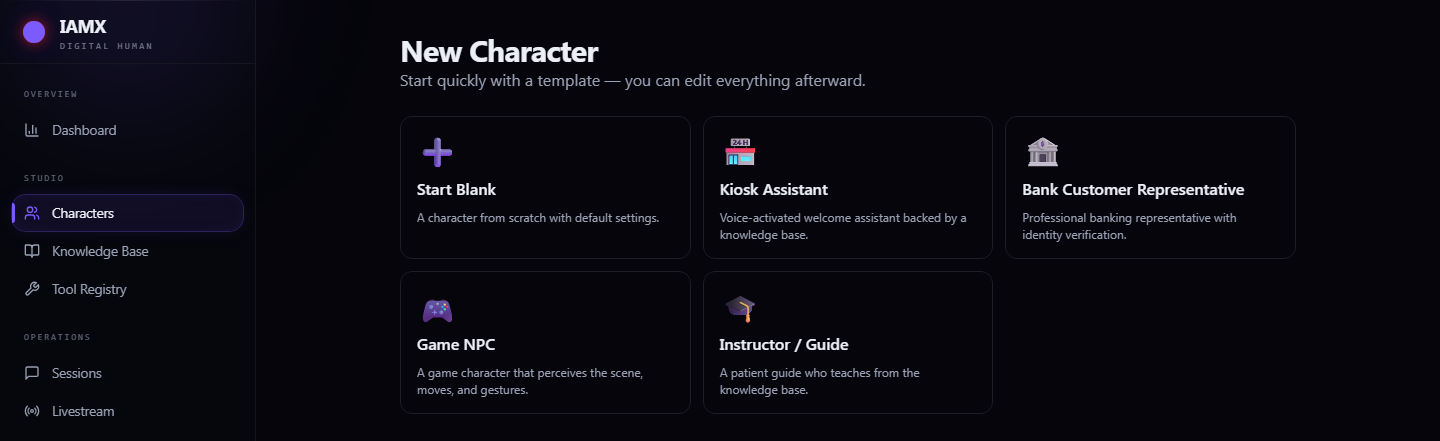
Creating a character starts from a template, so you are never staring at an empty form. Pick the one closest to your use case — you can change every setting afterwards.
The character workspace
Use Identity for its role, Language & Voice for speech and Knowledge Base for its sources. Model & Face opens the current avatar; its top tabs let you create a modular character, choose a ready-made model or upload your own. Expand Model & Face for scene, background, animation, actions and behavior tools.
Test in the avatar workspace opens a full-page conversation preview. Publish controls the public character and its website templates. Experience configures page awareness and visitor guidance with its own save and publish buttons. Follow Avatar Studio or Website experience for the complete steps.
| Template | Starts you with |
|---|---|
| Start Blank | Plain defaults. Best when you already know what you want. |
| Kiosk Assistant | Voice-activated greeter, Turkish + English, warm personality, short answers. |
| Bank Customer Representative | Formal tone, low creativity, and a written banking policy already in Guardrails. |
| Game NPC | Proximity-triggered, witty, with scene awareness and gestures switched on. |
| Instructor / Guide | Patient, longer answers, tuned to teach from the Knowledge Base. |
Operations — running things
The Operations group is where a character that already exists goes to work.
| Menu | What it does |
|---|---|
| Sessions | Every conversation your characters have had, with the full transcript, token counts and playable audio. See Sessions & analytics. |
| Livestream | The operator console for driving a character from live chat on Twitch, YouTube, Kick or TikTok. See Going live. |
| Podcast | Two characters talking to each other as a show, with audience questions steered into the conversation. See Podcast mode. |
| Telefon | The call centre: who called, how long they talked, what was said, plus outbound dialling. See Phone calls. |
| Analytics | Usage over time — interactions per day, tokens by model, which character is busiest. |
Account — keys, plan and preferences
| Menu | What it does |
|---|---|
| API Keys | The credentials your Unreal project, website or app uses to connect. Covered in Account & keys. |
| Plan & Quota | Your plan, three usage bars, and the upgrade path. |
| Settings | Your profile, the light/dark theme, and — most importantly — the place to store your own provider keys (OpenAI, ElevenLabs, Google, Anthropic, MiniMax). |
iamx_) that your own software uses to connect to IAMX. Settings → API Keys is where you paste third-party keys so IAMX can talk to OpenAI or ElevenLabs on your behalf. One is for your code, the other is for your suppliers.The first ten minutes
If you have just created an account, this is the shortest path to a character that speaks back to you.
- Configure the providers you want to use — Go to Settings → API Keys and save the keys for your chosen language and voice providers. These account settings can be reused by your characters. A voice provider and a language-model provider do not have to be the same company.
- Create a character — Characters → New character, pick a template. You land on the Identity tab of the editor.
- Write who it is — Fill in the Name and the Background in three or four plain sentences: who it is, where it works, who it helps. This is the single most influential field in the whole panel.
- Give it a voice — Open Language & Voice. The default local voice needs no key at all, so you can leave it and come back later. Press Preview to hear it.
- Choose its appearance and test it — Open Model & Face. Keep the current avatar or select Create, Ready-made or Upload. Save your changes, then select Test at the top of the avatar workspace. Type or speak in the full-page preview and use Back to editing to return.
- Publish it — Open Publish, check visibility and publish your saved character and Studio scene. Choose a website template and copy its widget code, or use the iframe, Unreal or WebSocket connection details for your chosen channel.
Saving: read this once
The character editor holds your edits until you save them. The header shows Unsaved changes while you have pending work and Saved once it is stored.
- Save in the character header, or Ctrl+S (Cmd+S on Mac), saves pending character-editor changes.
- Ordinary navigation between character settings saves pending edits before leaving. If saving fails, the editor stays open so you can address the error.
- A few controls save the moment you touch them — file uploads, on/off switches in Tool Registry and Knowledge Base, and the visibility selector on Publish. For those, the Save button is not involved.
- Save experience stores the Experience draft separately. Publish experience makes that draft available to new sessions.